How to make a sourdough starter from scratch is much easier that you might think. All you need is water and flour and a bit of patience.
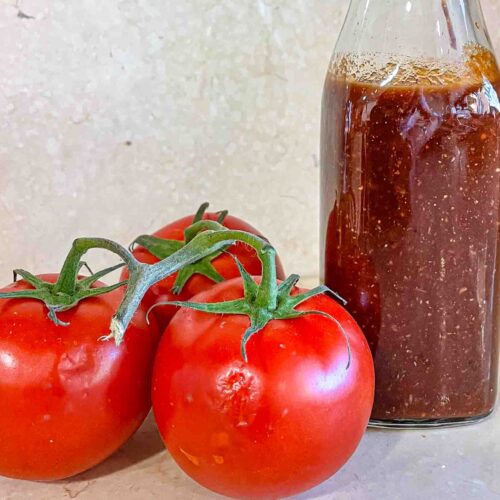
Sourdough bread making has seen a revival over the past several years. And with good reason. Not only do they taste better than conventionally made bread, they are also better for us.
They do require a bit of patience and planning, that is true, but the result is well worth it. Read on to learn why.
Why you should be making sourdough bread.
Sourdough breads are good for us because they fall under the umbrella of so-called fermented foods. Fermented foods are very good at keeping our microbiome – all the good bacteria in our gastrointestinal system – in good working order.
Keeping our microbiome in tip-top shape has a positive and very important impact on our overall health and well being. If it is out of whack, then we have a much higher risk of developing diseases. And not just of the gastrointestinal kind.
The microbiome has a direct link to most functions in the body. If it contains too many or too few of one or another kind of bacteria, it will have an impact on anything from our ability to fight off viruses to our mental health.
Eating a lot of red meat, processed foods, or sugar can tip the balance of our microbiome in an unhealthy way. On the other hand, eating a varied diet focusing on fresh vegetables, fruits, legumes and whole grains, and including fermented foods – like yogurt, sauerkraut, or sourdough breads – will ensure that our internal friendlies stay happy, healthy and ready to do their important jobs.
Sourdough breads regulate blood sugar and contain less gluten.
If the above isn’t enough for you to roll up your sleeves and get that sourdough starter going, there is also this: Traditionally baked sourdough breads contain less gluten, regardless of the type of flour used, than most commercially made breads. This is because the fermentation that goes on in traditional sourdough breads pre-digests the gluten, making this type of bread lower in gluten and therefore easier to digest.
They also lower the glycemic load of a meal. Not just of the actual piece of bread eaten but of the entire meal in which that piece of sourdough bread is eaten. So including sourdough bread in your diet will have a positive impact on your blood sugar balance. Why is this important? Because your blood sugar balance is a core element which underpins all other mechanisms in the body. If it is out of kilter, then practically every other balance in the body will be affected, putting unnecessary stress on the body. This will eventually lead to disease.
Including sourdough bread in a meal also slows down digestion. This makes calories more likely to be available as energy rather than stored as fat.
That was the science bit, now on to why you are here.
So, what is a sourdough starter.
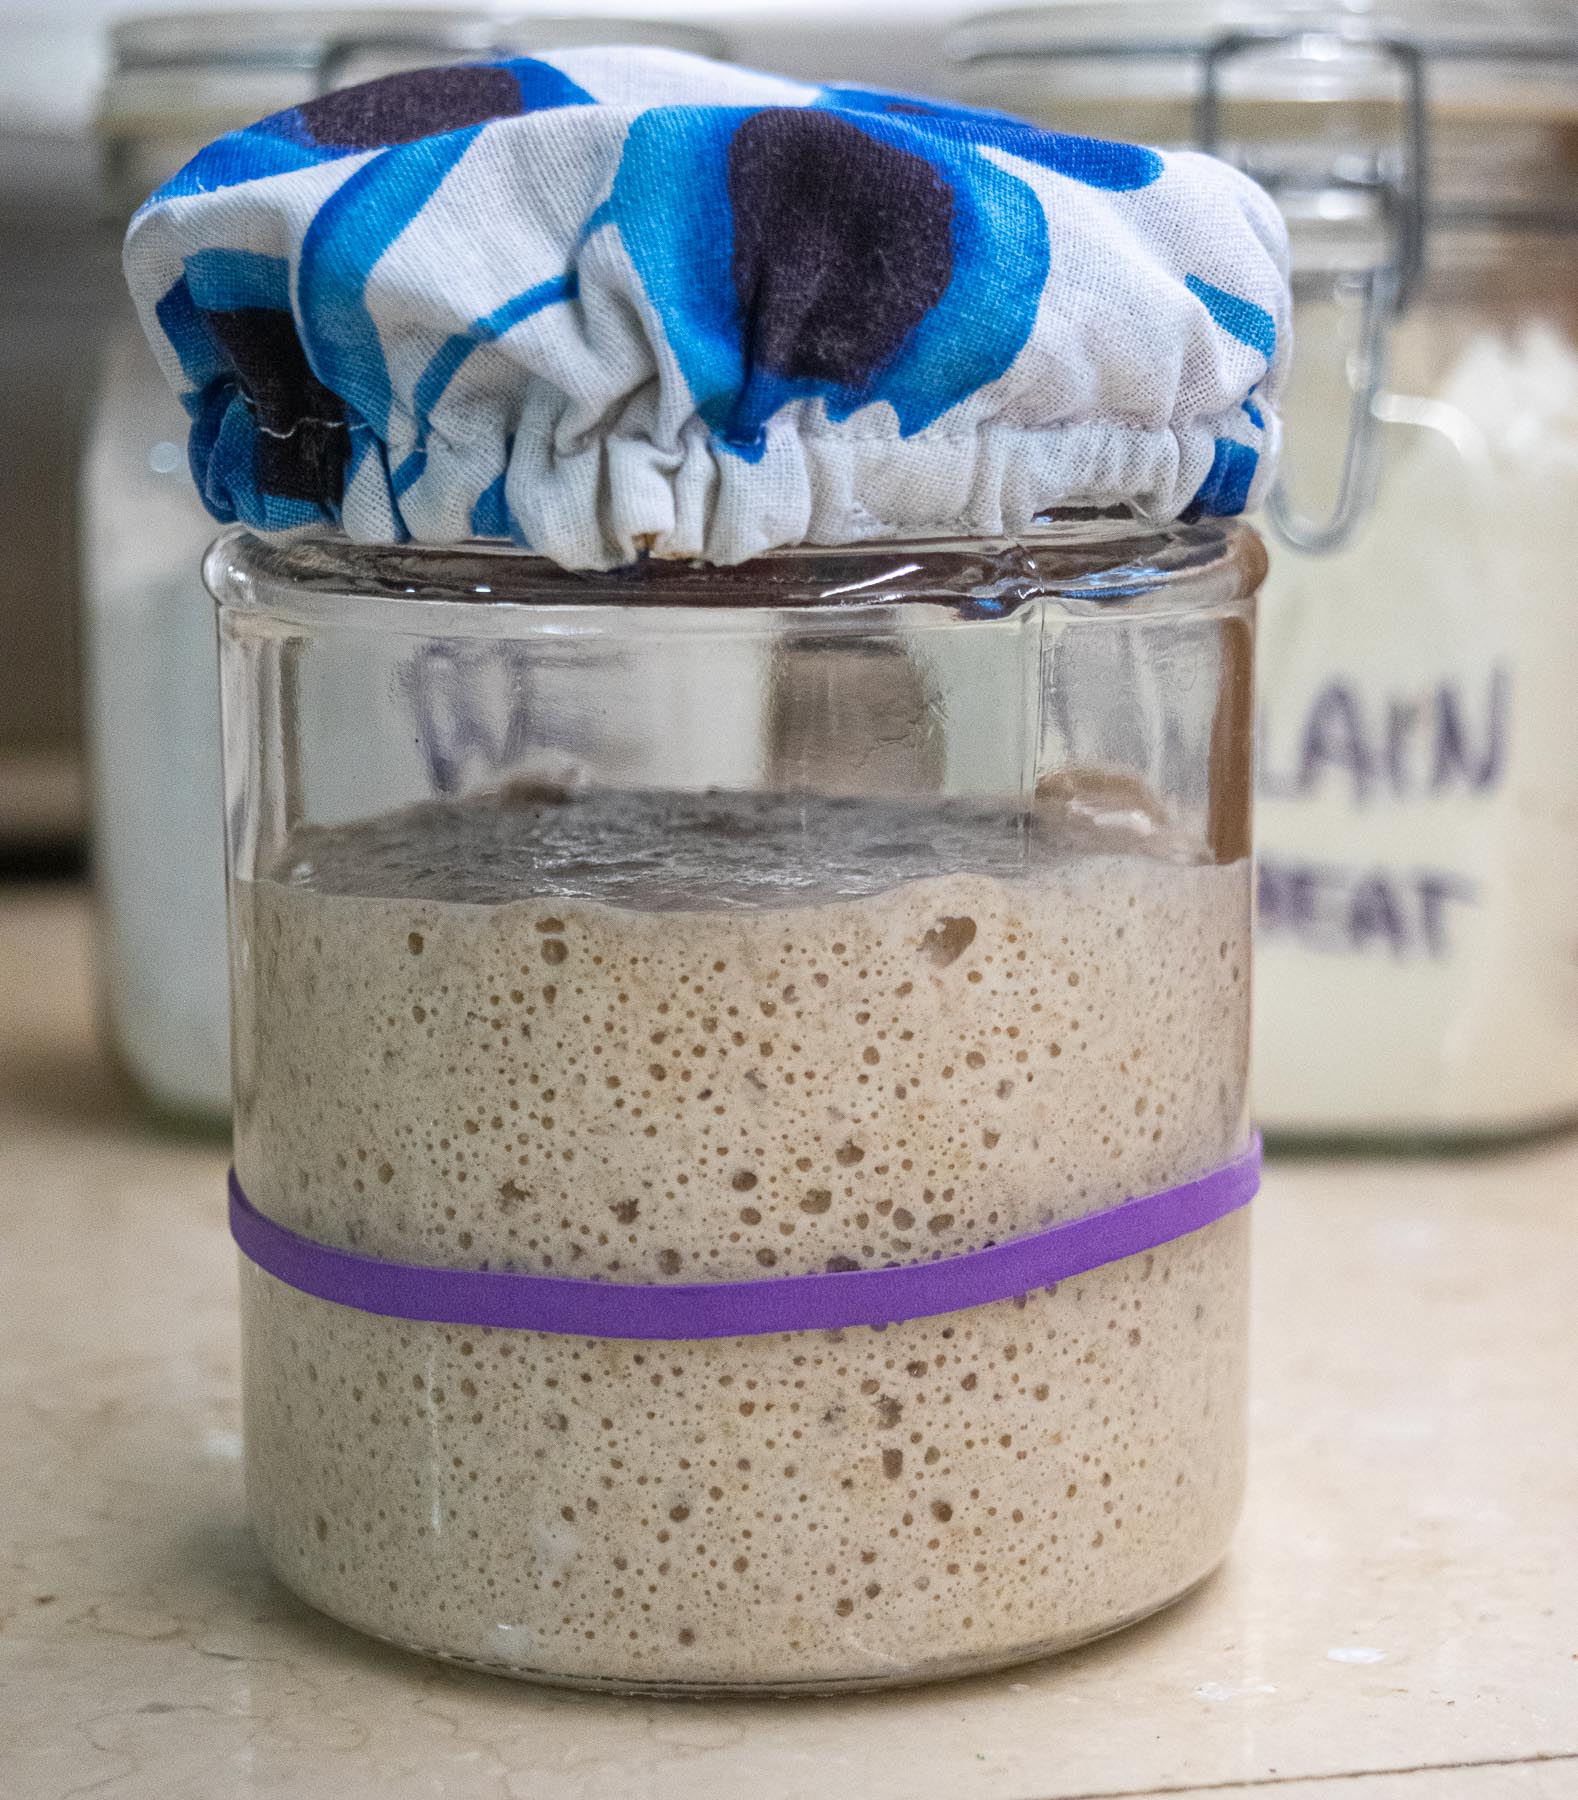
A sourdough starter is a natural leavening agent made from a mix of equal amounts of water and flour, measured by weight. Over the course of about a week or so, the wild yeasts and bacteria floating around in the air and present on your hands will start feeding on the starches present in flour and a natural fermentation process will kick in. This process will create lactic acid and co2, making the dough taste great, bubble up and rise.
An active sourdough starter needs to be fed regularly in order to stay healthy. This is the case in the initial stage of building you starter and also every time subsequently, when you are reactivating your starter and getting it ready to bake with (more on that later). If you stop feeding it, without putting it to sleep in your fridge, it it will deflate and eventually die. It will basically run out of food and starve to death. A dormant starter, however, will keep in the fridge for up to a month, and longer in the freezer. So no worries. Even with you newly created “pet” you will still be able to go on vacation.
Every time you feed your starter you will be discarding a good portion of the existing one. If you don’t do this, and simply add more water and flour to the existing starter, you will not only end up with a mountain of sourdough starter in no time at all, you’ll also end up with a starter with an overabundance of acetic acid bacteria. This will compromise the viability of your starter and make your bread taste very sour.
During the initial phase of getting your young starter off the ground, diligently feeding it – initially once a day but after a few days every 12 hours – it grows more active and vigorous day by day. In the end it will be strong enough to be used as a leavening agent to make beautifully flavored and very healthy breads.
Right, let’s roll up those sleeves and get to it.
Let’s start with the ingredients.
Flour:
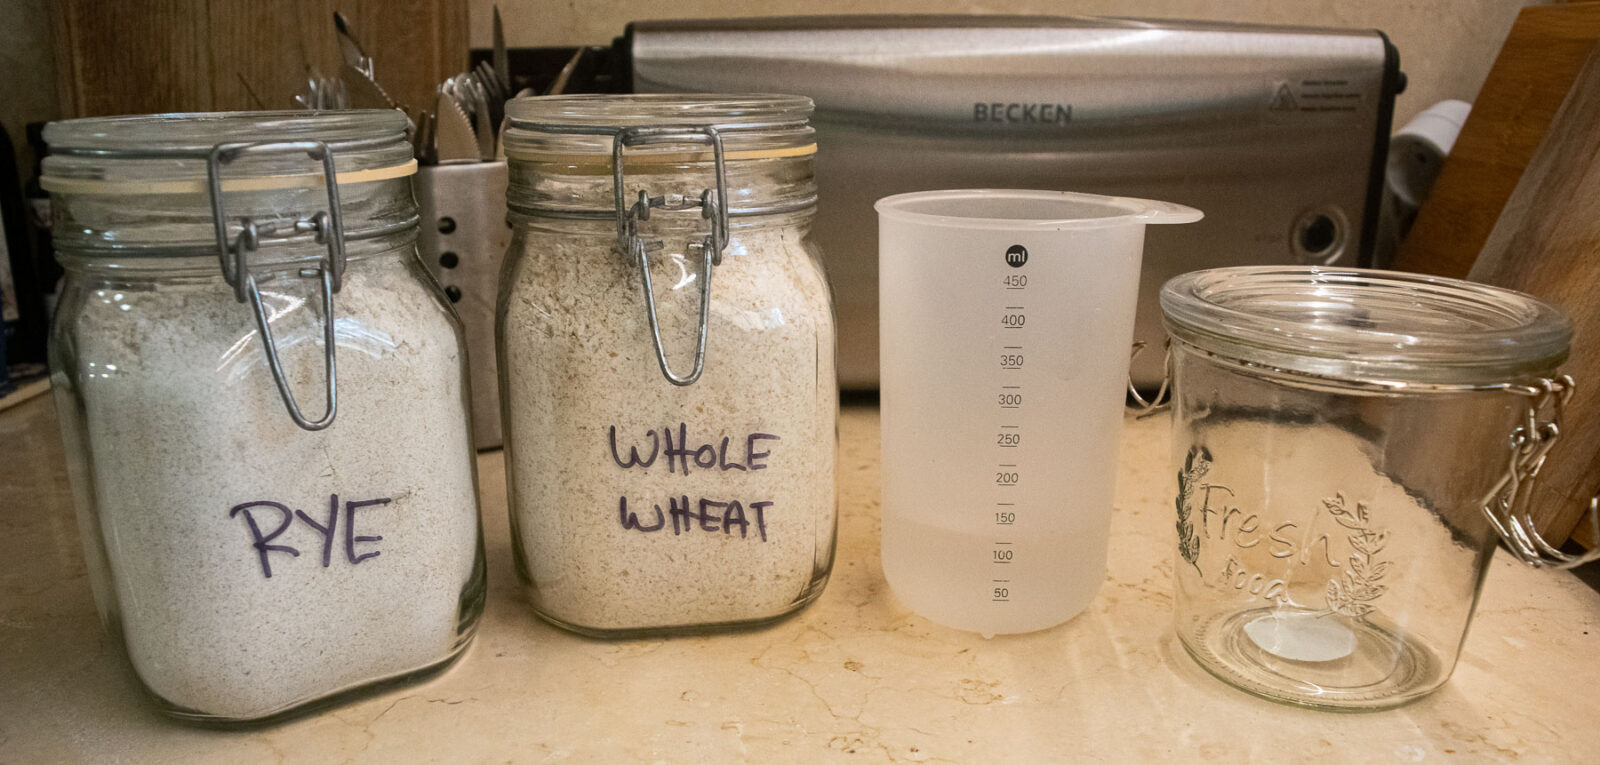
The quality of the flours you use is important. Try to use organic flours whenever possible. This is because organic flours contain many more microorganisms than conventional flours. This has an impact on the viability of your starter.
When you first start out with my recipe you will notice that I use only whole rye and whole wheat flours for the initial step. Again, this is because of the microorganisms, of which there are many more in the whole grain flours, as opposed to white flour which has been stripped off its outer layers. Starting out with whole grain flours only will give your starter an initial boost. From day 2 onward I include white bread flour. This is because white flour contain more readily available starches than whole grain flours and starch is an important food source for the wild yeast and bacteria we are enlisting to help us in this process.
Water:
Tap water is perfectly fine to use. However, do pay attention to the temperature. The temperature of your water has an impact on your starter’s behavior. Cold water can have a negative impact on the microorganisms. This will result in a slow-down of the process. Because of this, always use water which is at room temperature, or maybe even slightly warmer, 24º C to 27º C is ideal. (That will be 75º F to 80º F).
The containers:
Every time you feed your starter it needs to be moved into a clean container. This is important because this is the way you make sure you don’t end up with too many of the wrong type of bacteria. What you want is the Lactobacillus bacteria which produces lactic acid during the fermentation process. If you simply add more water and flour to the existing container you risk getting an overabundance of acetic acid bacteria which will hamper the viability of your starter and make your bread taste very sour.
Covers:
Because the viability of your starter depends on the wild yeasts and bacteria in the air, you should only cover your container with a piece of cloth or a paper towel held in place with an elastic band. I use my own homemade jar covers but a dishtowel works just as well. This allows the starter to breathe. The only time you should seal the container with a tight fitting lid is when you put your starter to sleep in the fridge.
Other things you’ll need to get a sourdough starter off the ground:
A scale. It doesn’t have to be a fancy digital scale as long as it is reliable.
Glass jars. Some, or at least one, should have a tightly fitted lid. This will be the one(s) you use when you put your starter to sleep in the fridge. You can also use ceramic jars but glass jars make it much easier to see what’s going on with your starter. I use the 1 liter “KORKEN” pickling jars from IKEA (no affiliation here, just sharing my tips) for the main mixing/rising/day-to-day job and a slightly smaller pickling jar to put in the fridge.
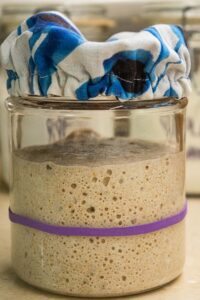
Elastic band. We use this to track how fast the starter grows after a fresh feeding, and hence tells you when it’s ready to bake with.
A Few FAQs
How long does it take to make a sourdough starter?
The short answer is, it depends. But most starters take 5-8 days to get ready.
No two sourdough starters are the same. The wild yeasts and bacteria present in your home are not exactly the same as the once sharing my space. Temperature also plays an important role. The warmer the place the faster the process. Living beings, after all, are not an exact science.
Where should I keep my starter?
During the initial process and every time your are readying your starter to be able to bake with it (bringing it out from the fridge and waking it up, i.e. feeding it) it should be kept on the kitchen countertop, at room temperature. As you get to know your starter over time, you will notice that the time it takes for it to double in size changes with the seasons. Unless your kitchen keeps the same temperature year-round, the process is faster in summer than in winter. To speed up the process, move your starter to the warmest place in your house/apartment but resist the urge to fast forward the process by placing it on a radiator in winter. Forcing it like this will stress the microorganisms and result in a starter with compromised abilities. You’ll end up with a bread with less rise and less flavor.
If you bake every few days, then you can continue to keep the starter on the countertop, but you will need to feed it daily.
If you don’t bake that often, then it should go in the refrigerator in between baking. This will force the yeast to go dormant and stay inactive until the day you bring it back out and give it a feeding.
If you go away for more than a month, then you can put it in the freezer. This will not kill the starter but put it into a deep slumber. Wake it up the way you’d normally do it (refer to the recipe below), but allow it to defrost first. I have personally kept a starter frozen up to 2 months and brought it back to life. Any longer than that I cannot guarantee.
How do I know when the starter is ready to bake with?
When it gets to a stage where, after a fresh feeding, it doubles in size in six hours or less it will be ready to bake with.
You can also perform the Float Test. Fill a glass with water and add a spoonful of your starter. If it floats it is ready to use. If it sinks then it needs a bit more time and/or feedings before you put it to good use.
What to do with the leftover starter?
Every time you feed your starter you are only using part of the old starter. The rest of it unfortunately goes to the trash (I hate this part 😭). Or…. you can put its healthy properties to good use in recipes where the leavening capability is not required. Flatbreads, crackers, muffins (with baking powder), tortillas, chapatis, carrot cake (with baking powder)… The list is long.
My dormant starter is covered by a layer of gray-ish water. Am I doing something wrong?
If your dormant starter is left for an extended period in the fridge it will likely start producing a layer of gray-ish liquid on top. It does this to protect itself from unwanted organisms. This is perfectly normal and has no impact on the viability of your starter. Simply pour off this liquid before feeding the starter.
My starter smells funny. Has it gone bad?
An active starter should smell similar to yogurt, fresh and slightly acidic. If it starts smelling too boozy then you have an overabundance of acetic acid and not enough lactic acid. This will hamper your starter’s ability to work as a proper leavening agent. You can try to correct this by using less old starter, maybe 20 grams instead of 75 grams, in your next few feedings and go from there, but if the boozyness persists you may have to make a new starter from scratch.
My starter appears to have a crust on top. Is this normal?
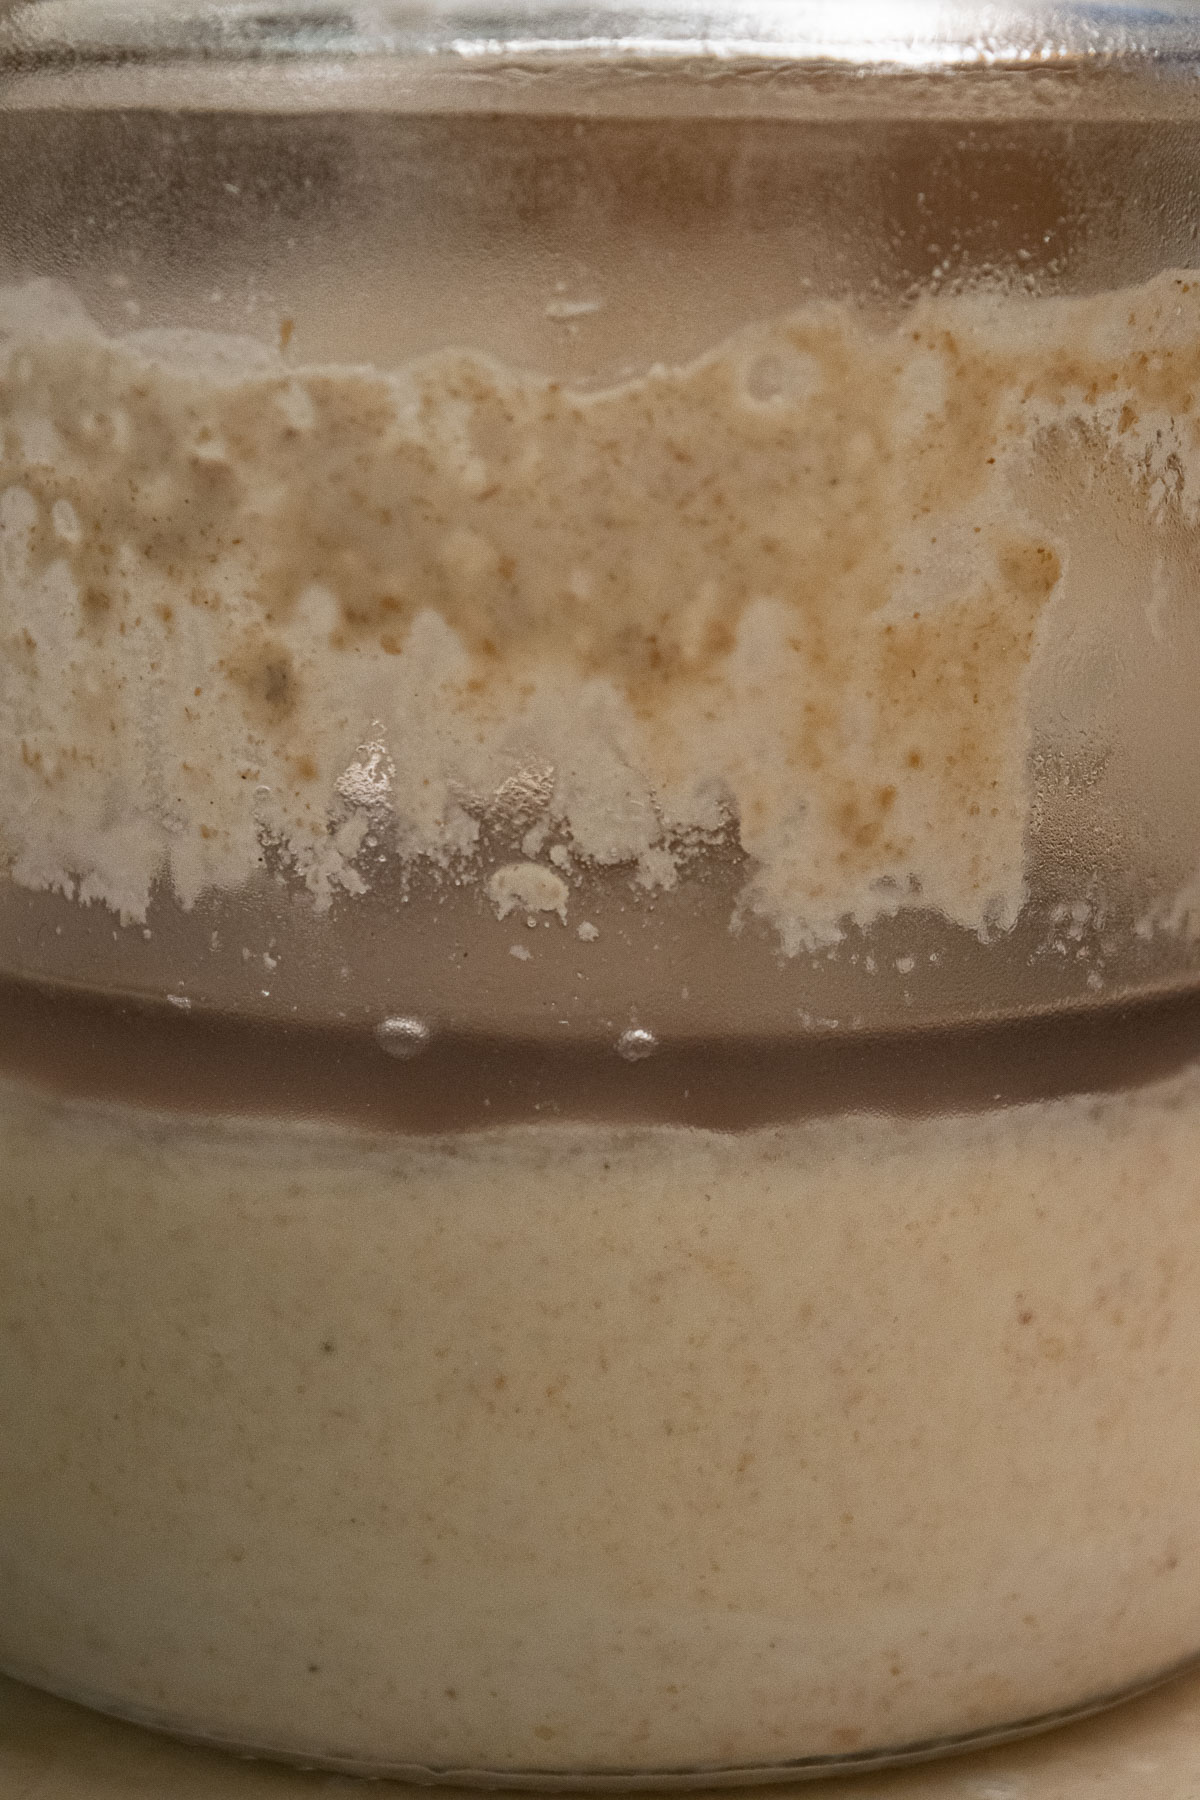
If your starter has developed a crust, simply peel it off before the next feeding. A crust is not a sign that something is amiss.
If, on the other hand, you starter goes moldy or smells rotten, then you have to ditch it and start over. But sourdough starters are very hardy beasts, it takes a lot for them to give up the ghost.
My starter is ready to use but I’m about to leave for work. Can I wait until I get home before mixing it with my other bread ingredients and get my bread started?
You will get the most rising capabilities with a starter that’s at its peak. Once it goes over the peak the rising properties will gradually lessen. So in other words, once a starter is ready to bake with you should use it as soon as possible. This doesn’t have to be on the minute but ideally within an hour or so. This is where knowing how your starter behaves comes in really handy, so you can plan when to feed it, in anticipation of it reaching its peak at a time when you’ve actually got time to make the bread. This timing can be a bit tricky to figure out at first but rest assured, you’ll soon get a feel for your newfound friend, so stick with it. Practice makes perfect.
My bread dough has been rising for many hours. How do I know when it’s ready to be shaped into breads and baked?
Again, this is something you’ll get a feel for after you’ve got a few breads under your belt, so to speak. No pun intended. Generally speaking, though, a bread is ready to be baked once it is no longer rising. Seems logical, right? But it actually is really important to keep an eye on your dough as it rises and try and catch it at its peak before it starts to deflate. I have myself been known to stay up way past my bedtime because all of a sudden my dough was ready to be baked into this bread, which needs two hours in the oven…. That taught me a lesson in planning.
The recipe:
The recipe you will use to get a sourdough starter off the ground – and maintain it long term – looks like this:

How To Make A Sourdough Starter From Scratch
Ingredients
Day 1
- 125 grams water at room temperature
- 100 grams whole rye flour
- 25 grams whole wheat flour
Day 2 and through to the finish
- 100 grams water at room temperature
- 75 grams sourdough starter from yesterday
- 25 grams whole rye flour
- 25 grams whole wheat flour
- 50 grams white bread flour
Maintenance #1: When baking larger breads (200 to 250 grams sourdough starter needed)
- 100 grams water at room temperature
- 75 grams sourdough starter
- 25 grams whole rye flour
- 25 grams whole wheat flour
- 50 grams white bread flour
Maintenance #2: When baking smaller breads (115 to 150 grams sourdough starter needed) and when prepping for the fridge.
- 80 grams water at room temperature
- 60 grams sourdough starter
- 20 grams whole rye flour
- 20 grams whole wheat flour
- 40 grams white bread flour
Instructions
Day 1:
- Mix the flours and water together in a glass jar and cover with a piece of cloth or paper. It needs to be able to breathe so don’t put a tight fitting lid on it. Leave it for 24 hours.
Day 2:
- Mix it all together in a glass jar and once again cover with a piece of cloth or paper. You can reuse the cloth from day 1. Leave it for 24 hours.
Day 3:
- Use the same recipe as you used on day 2. Cover with that same piece of cloth and once again leave it for 24 hours.
Day 4:
- On this day you will start to feed it twice a day, once in the morning and once in the evening. Try to space it out so it gets fed roughly every 12 hours.You will be using the same recipe as you have been using since day 2.
Day 5:
- Repeat what you did on day 4. That is feed twice, using the recipe from day 2.By now your starter should be quite active already.
Day 6:
- Repeat what you did on day 4 and 5 but now you can start to keep an eye on exactly how active your starter is. This is best done by placing an elastic band around the glass jar, indicating the top level of the newly fed starter and then keeping an eye on how fast it doubles in size.Once your starter gets to a point where it doubles in size in six hours or less it will be ready to bake with. Until this happens simply keep doing what you have been doing the last few days, feeding the starter every 12 hours or so.
Day 7:
- Repeat what you did on day 4, 5 and 6, using that elastic band to keep an eye on how fast it rises.
Day 8 and onward, if needed:
- If you starter has yet to reach the point where it doubles in size in six hours or less, you simply keep feeding it as you have been doing, once every 12 hours.If you get to a point where your starter stops responding to a fresh feeding, in other words it stops rising after a fresh feeding, then something has gone wrong and you'll need to start over. This is quite rare, though, so don't let that possibility keep you from starting in the first place.
Once your starter is up and running:
- Once your starter gets to the point when it is ready to bake with you should split it in two (or more depending on how many breads you are planning to make), so you also have a starter to bake with next time. I do this by making one starter following the Maintenance #2 recipe above and one starter following either of the maintenance recipes depending on which bread(s) I'm planning on making. The first starter then goes to the fridge – properly sealed with a tightly fitted lid – once it has shown some good activity, usually after a couple of hours. It does not need to double in size but it should be allowed to rise a bit before putting it to sleep. The second starter is then used in the bread recipe after it has doubled in size in six hours or less.Another option is this: If the bread recipe you are planning to use doesn't call for the full amount of sourdough starter you have at hand (200 to 250 grams) then you can simply skim off a few spoonfuls (60 to 75 grams total), put it in a clean jar, seal it tight and place it in the fridge. I don't personally follow this method myself, as I am always fearful of forgetting to take some starter aside before mixing it into the dough. A scary scenario leaving me without a starter.
Waking up your sourdough starter after it's been refrigerated:
- Remove the starter from the fridge and give it a fresh feeding following the maintenance #2 recipe above. You can also used the Maintenance #1 recipe but you'll just end up wasting more, as the starter will need several feedings before it is back up and running. Remember, you only use part of the old starter at each new feeding while the rest is discarded.Give it another fresh feeding after 12 hours and continue this every 12 hours cycle until your starter doubles in size in six hours or less, at which point it is ready to bake with. Don't forget to split it at some point during this process so you'll also have a starter next time you want to bake (see above).If you bake fairly regularly, and the starter has only been refrigerated for about a week, then it will most likely only need three feedings to get back up to speed. If it has been refrigerated for several weeks then it will need more feedings to properly wake up. Just keep feeding it every 12 hours until it doubles in size in six hours or less.
How to put your new best friend to good use.
Finally! After a week long anxious wait to see if your efforts would actually produce a viable sourdough starter, the time has come for you to put your hard work to good use and move on to actually making a sourdough bread.
Different recipes call for different amounts of sourdough starter and every baker has her or his own favorite way of working with the starter. Again, this is because no two sourdough starters are exactly alike.
After you have made a few breads and gotten to know your own new refrigerator pet, you as well will find your own rhythm and make up your own mind about how best to go about the process of making bread.
To get you started, you can find my recipe for Rosemary Flavored Whole Grain Sourdough Bread here. This recipe can also be used to make buns, if you prefer those.
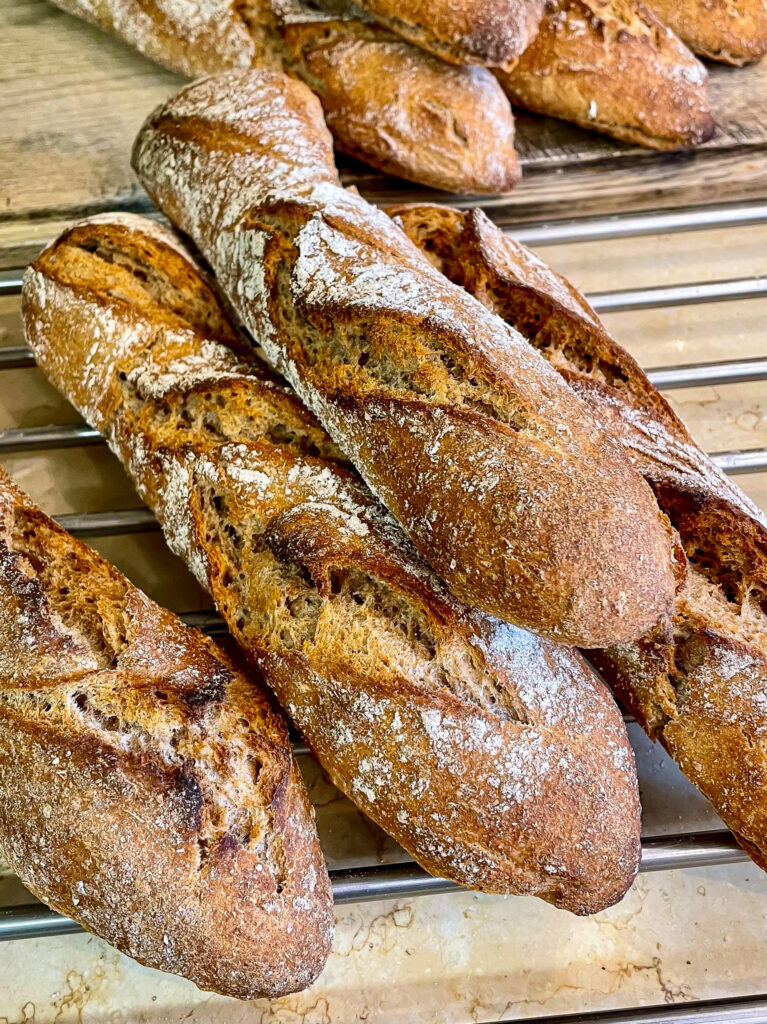
If you feel adventurous, then check out my recipe for Whole Spelt Sourdough Baguettes. But be warned, this recipe is a little more involved.
And if you, like me, are partial to rye, then you should give this recipe a go.
Happy baking!